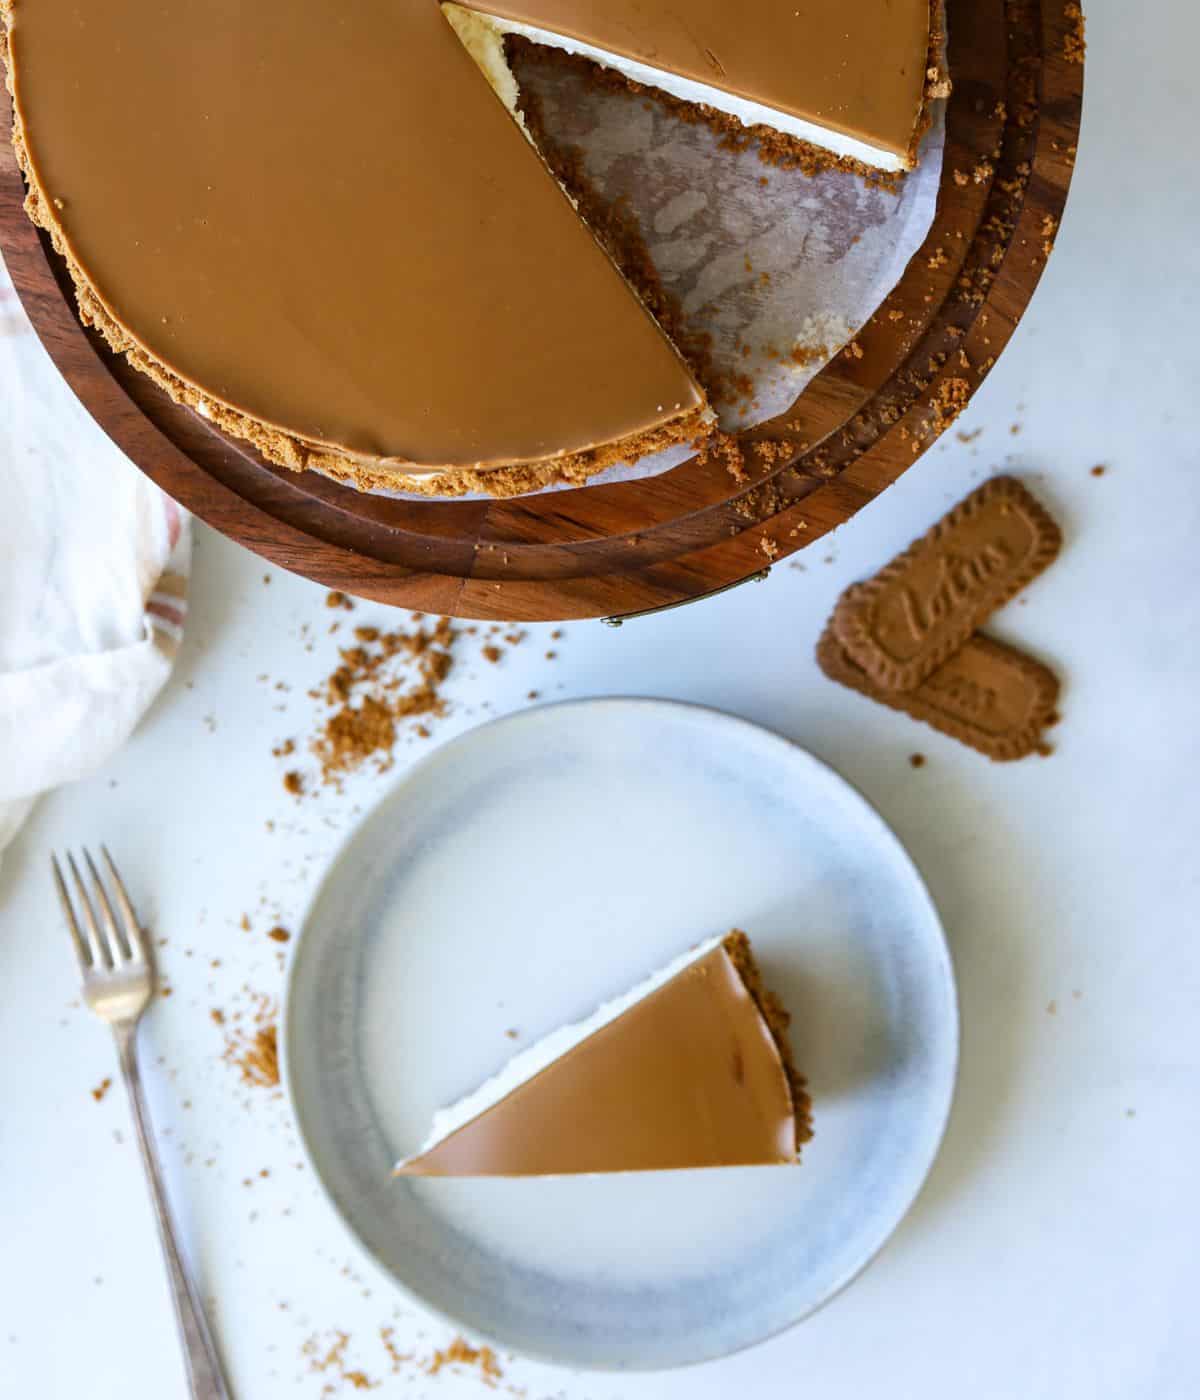
This Lotus Biscoff Cheesecake recipe is so easy to make and it's no bake! Simple ingredients come together for the smoothest cheesecake complete with a buttery Biscoff Crust and a cookie butter layer on top. It's so delicious and a must try recipe.
My husband and daughter are both die hard cheesecake fans. They are the kind of people, who when you enter a bakery, you already know what they are going to order.
It secretly drives me nuts. It's like, aren't you even going to look at everything first? Needless to say, they went crazy over this recipe.
This recipe is good anytime of the year, but it would be especially great at the Thanksgiving and Christmas dinner table. The cinnamon flavor makes it feel very festive in the Fall and Winter months.
If you're crazy about Biscoff, which I'm guessing you are, try my Lotus Biscoff Truffles too!
Jump to:
Why You'll Love This Recipe:
- It's an easy no bake recipe that turns out delicious!
- This is a great beginner cheesecake recipe.
- The actual prep time takes less than 30 minutes. Don't let the time it takes to make scare you, because it's mainly just sitting in the fridge.
- This recipe is great to serve at Holidays or any kind of party because it is all done ahead of time.
- Lastly, the taste is INCREDIBLE!
If you love easy Fall dessert ideas, make sure to try my Apple and Blackberry Crumble, Pumpkin Bread with Cream Cheese Frosting and Mini Apple Pies.
The Ingredients:
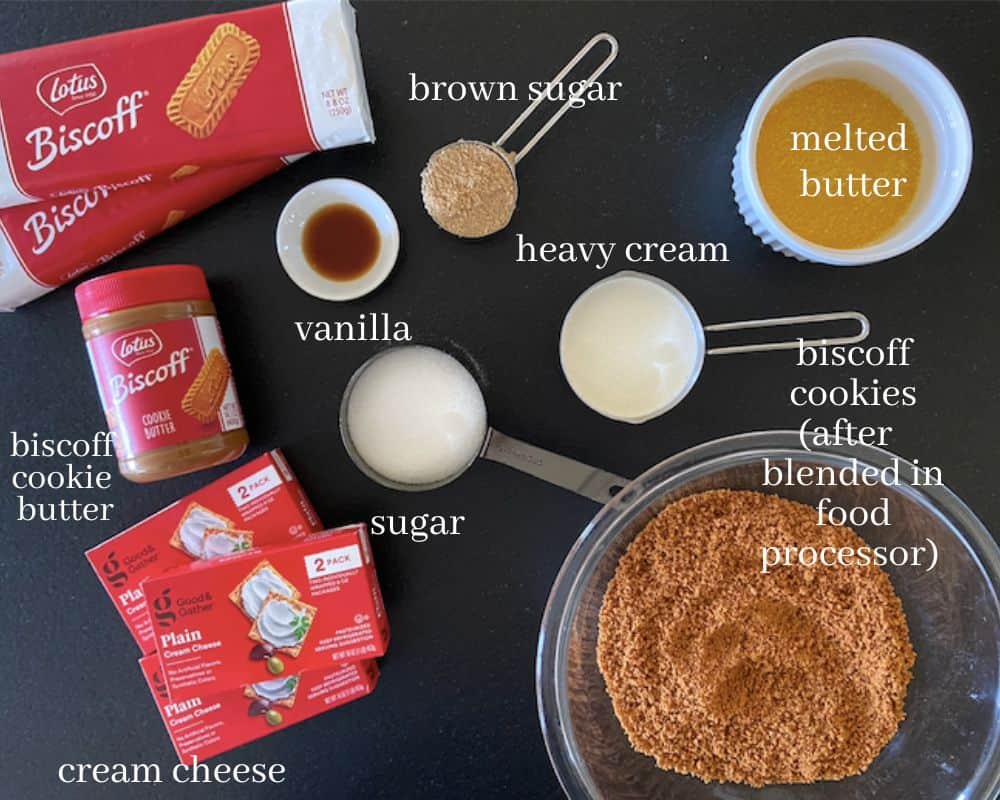
Biscoff Cookies- A cinnamon, caramel flavored cookie is finely processed in the food processor to make the Biscoff Cheesecake Crust.
Melted Butter- Combines with the blended biscoff cookies to add a savory component to the crust.
Brown Sugar-To add sweetness and molasses notes of flavor to the crust.
Cream Cheese- The main ingredient for the cheese cake filling.
Heavy Cream- Blends together with the cream cheese to create a fluffy, whipped texture.
Sugar-Granulated Sugar mixes in with the cream cheese and heavy cream to add sweetness and cut down on the bold cream cheese flavor.
Vanilla- Just a touch for a subtle vanilla flavor in the cheesecake.
Biscoff Cookie Butter- My favorite ingredient in the recipe. It literally tastes like Biscoff cookies in a smooth peanut butter consistency. I could eat the whole container. This melts down in the double boiler or in the microwave and is poured over the cheesecake. It creates another layer of depth to this recipe.
Baked vs No Bake Cheesecake:
This is an important subject to address in this recipe, so that you know what to expect.
A baked cheesecake is going to have a heavier and more dense consistency. Baked cheesecakes also have more of a velvet like texture because they use eggs. They also require a lot more time and work than it's no bake counter part.
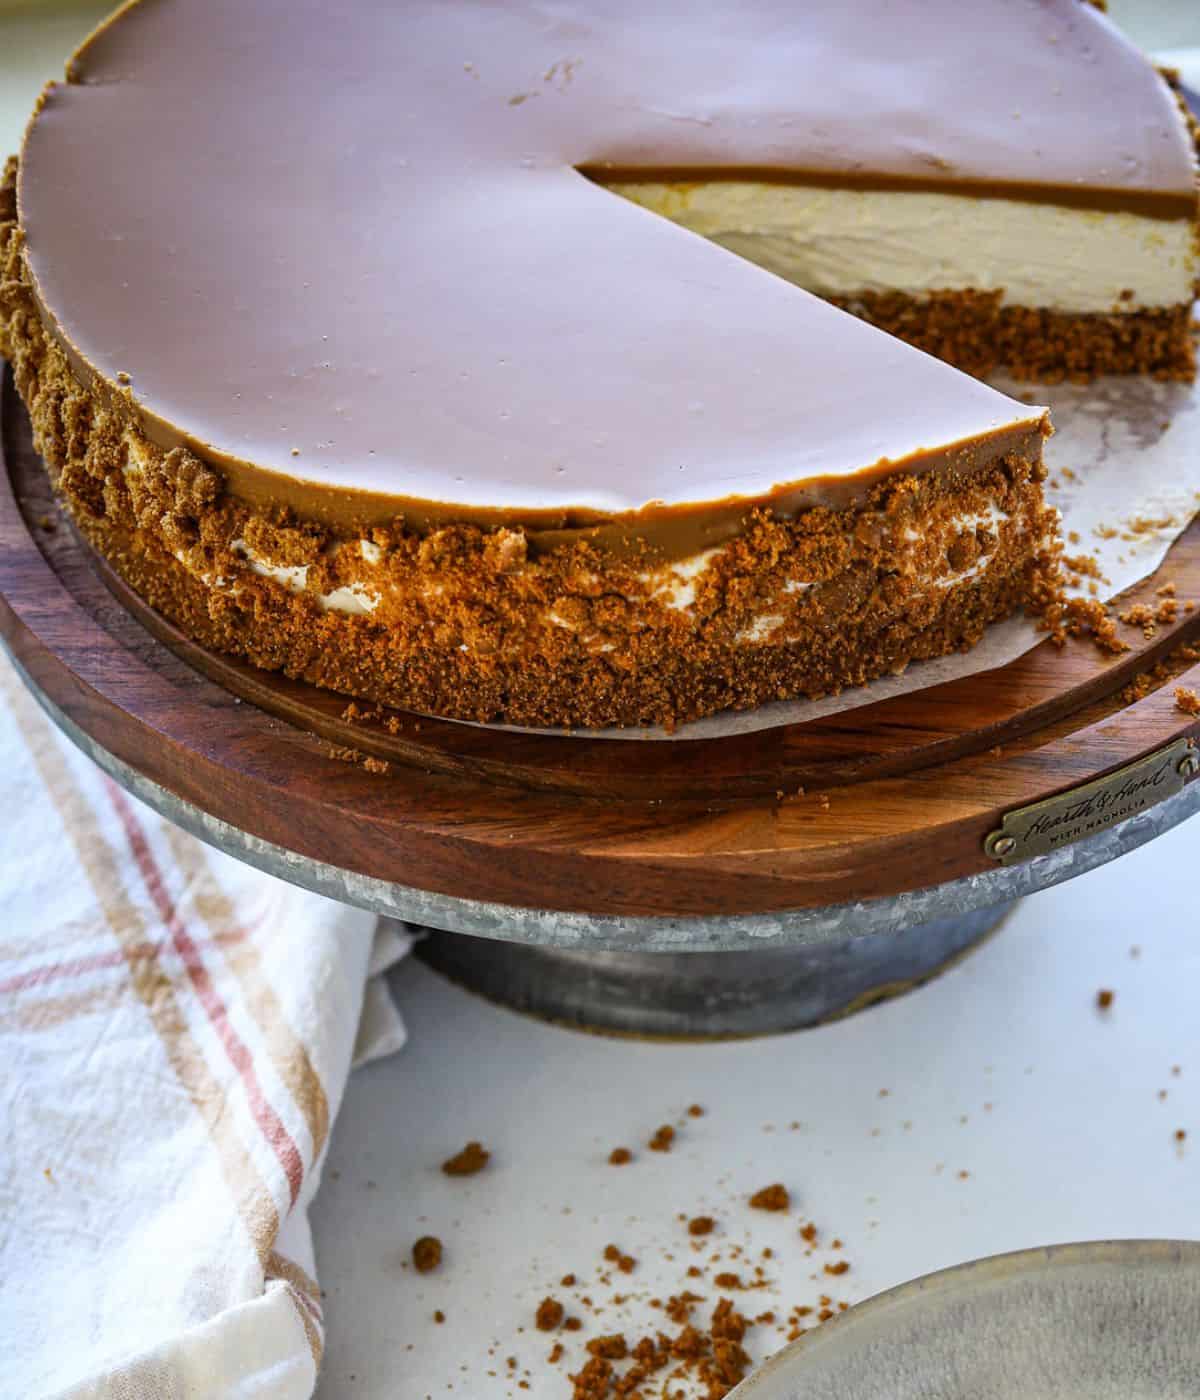
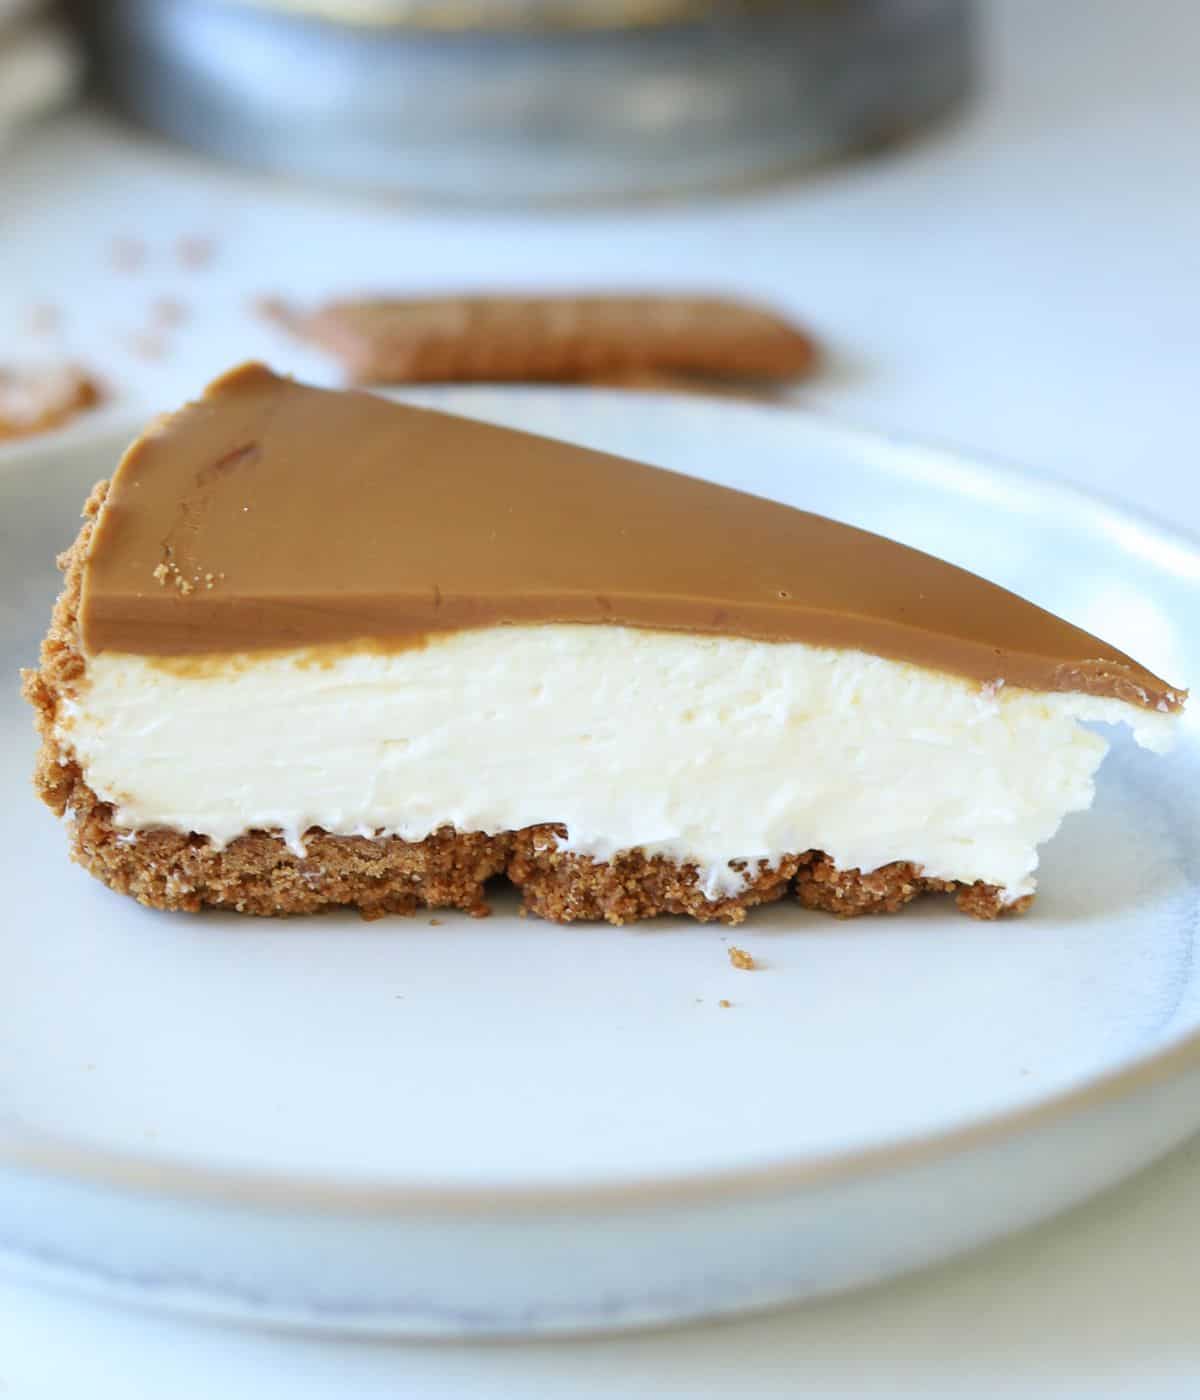
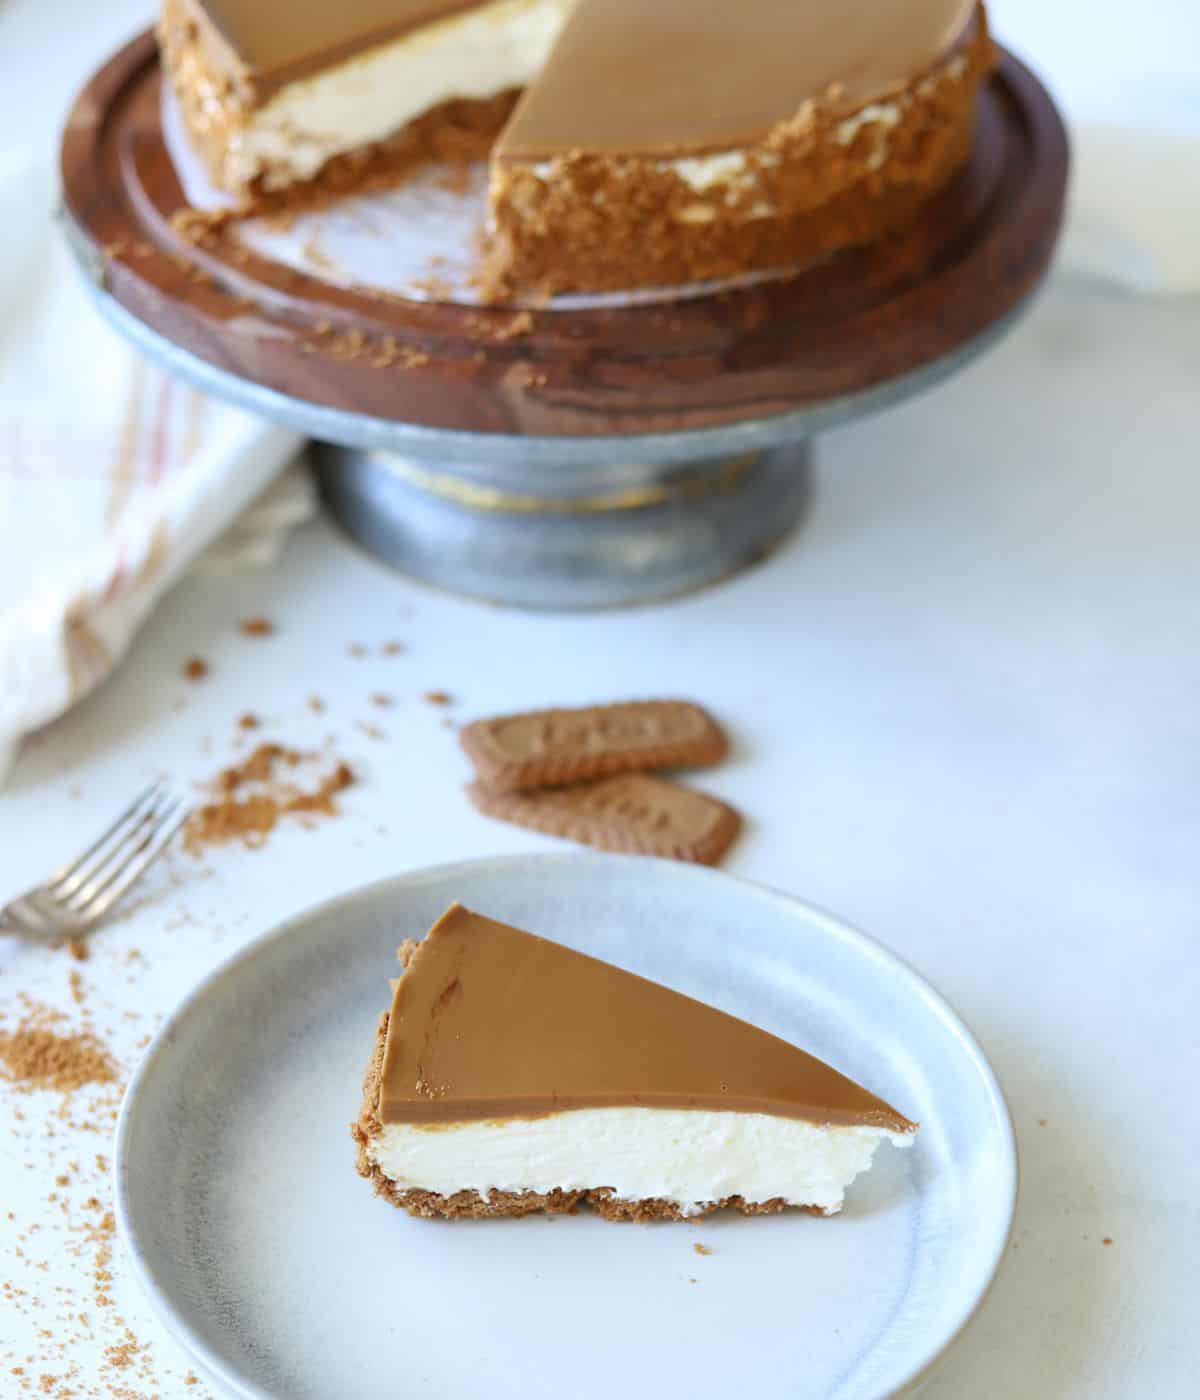
No Bake Cheesecake, like in this recipe, is the easy way of making cheesecake. We rely on the fridge to do the firming up for us. I personally love the no bake version for it's light and airy taste. You can see in the photo below, the filling is more of a thickened mousse-like texture.
For more no bake recipes, try my No Bake Turtle Pie and Peanut Butter Fudge with Condensed Milk.
How to Make Lotus Biscoff Cheesecake:
Step 1: Prepare the Springform Pan
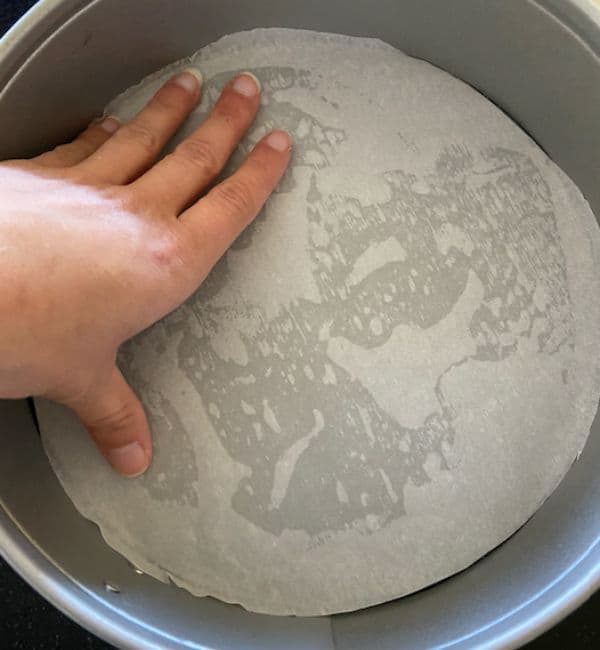
Prepare a 9 inch Springform pan by lining the bottom with parchment paper. I like to spray a little cooking spray on the bottom, so the parchment paper sticks really well.
Step 2: Prepare the Crust
In a food processor, finely process one sleeve of Biscoff cookies. This should make about 2 cups. Add the brown sugar and melted butter into the food processor with the cookie crumbs and pulse until combined.
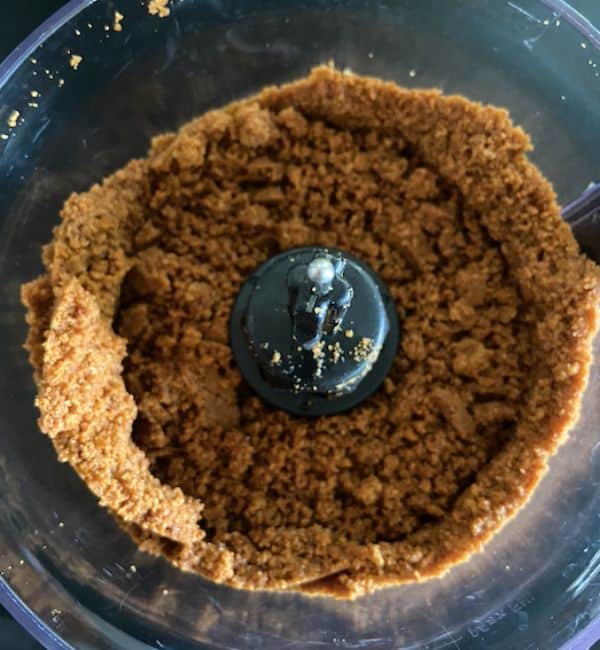
Step 3: Pack Graham Cracker Crust into Pan
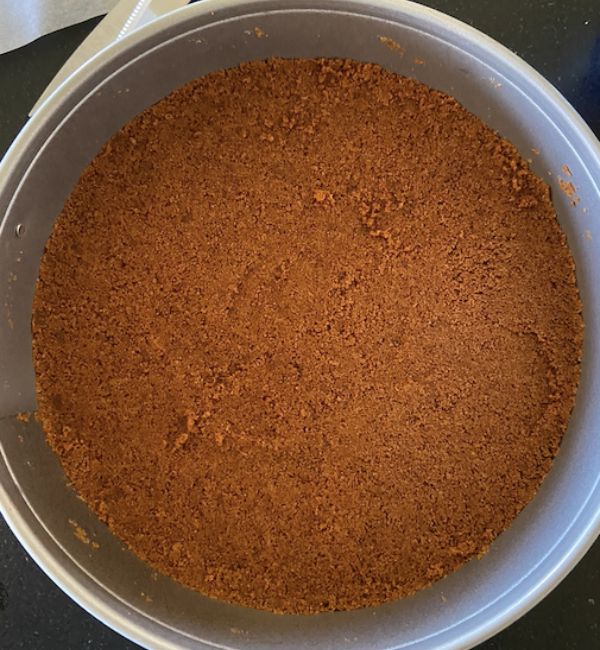
Next, pour the crust mixture into the springform pan and pack it down with the outside of a measuring cup.
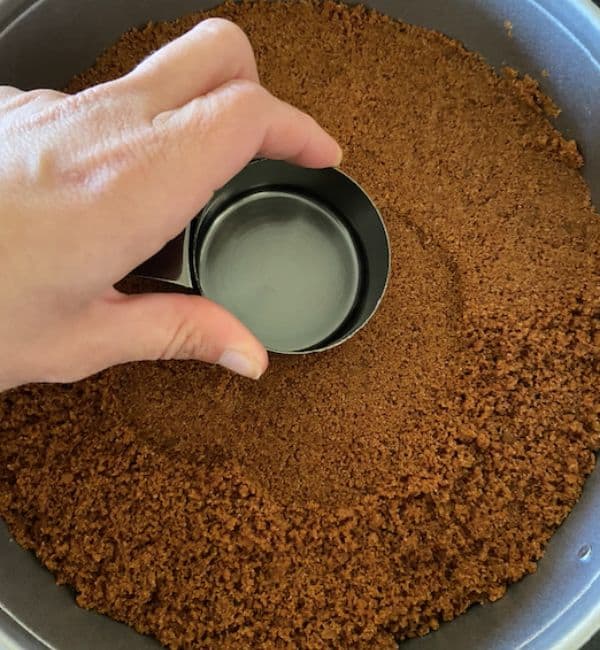
Step 4: Freeze Crust
Place the crust in the freezer for an hour.
Step 5: Prepare the Cheesecake Filling.
Into a stand mixer with the beater attachment (or you can use a hand mixer) Add in the softened cream cheese. Mix on low speed for a minute.
Add in granulated sugar and vanilla extract. Slowly pour in heavy cream and beat on low for about 5 minutes until the filling has a whipped appearance.
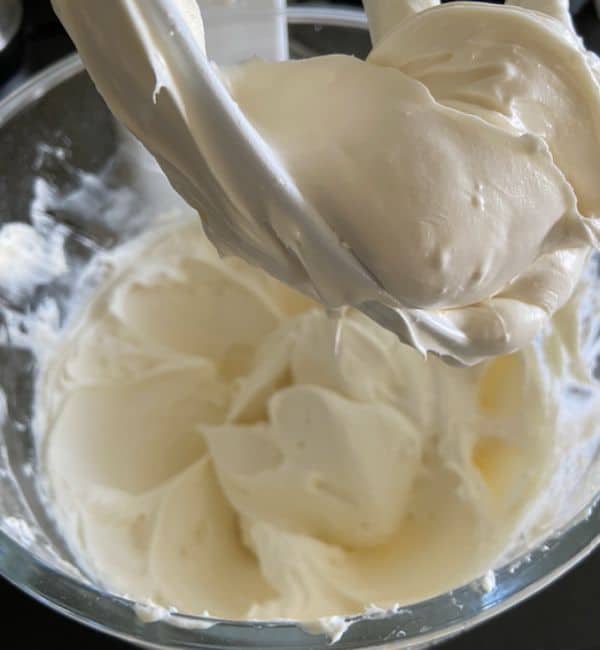
Step 6: Add Filling over Crust
Remove the pie crust from the freezer and spread the cream cheese filling on top.
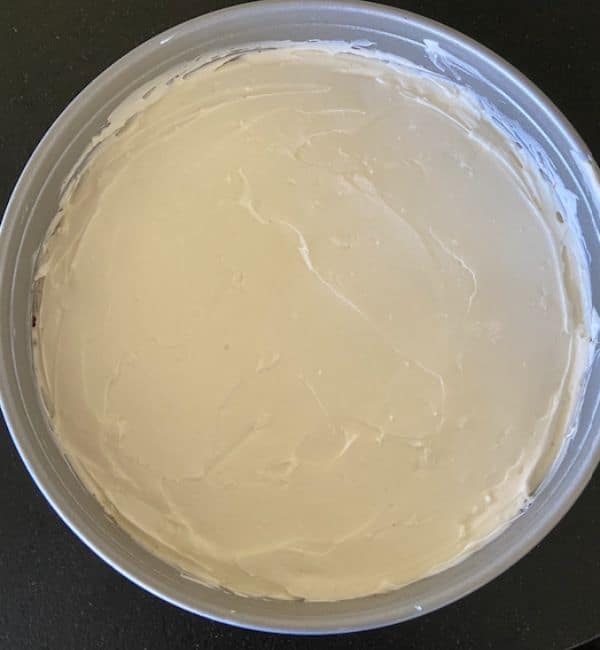
Step 7: Refrigerate Cheesecake
Cover with plastic wrap and refrigerate for 6 to 8 hours, but preferably overnight.
Step 8: Prepare the Cookie Butter Topping:
Once the cheesecake has set, leave it in the fridge and melt down the cookie butter topping.
Using a double boiler method: Empty the entire jar of cookie butter into the top pot. Add in a cup of water into the lower pot. Allow the cookie butter to melt over medium heat stirring every minute to help it melt down.
Using the microwave: Empty the entire jar of cookie butter into a microwave safe dish. Heat in 10 second increments until fully melted. Stir in between increments.
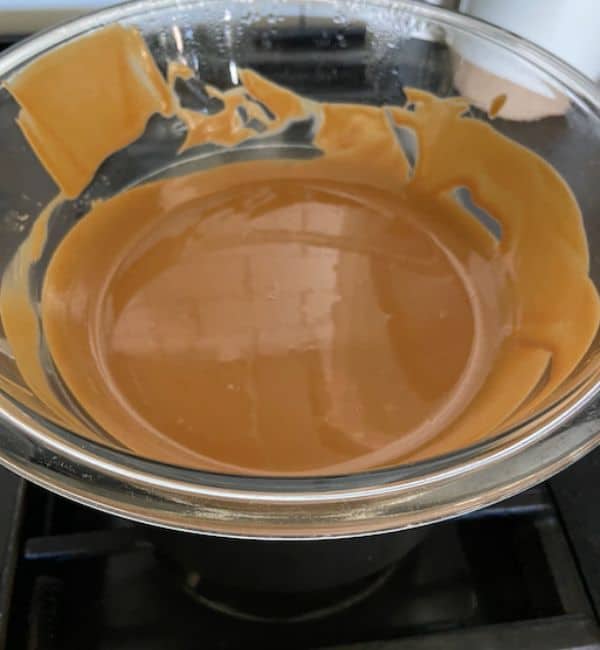
Remove the cheesecake from the fridge and pour the melted cookie butter over the top. Do not touch it. Allow the mixture to spread out by itself. You can shake the pan a bit, but it should spread evenly on its own.
Place back in the fridge for 2 hours.
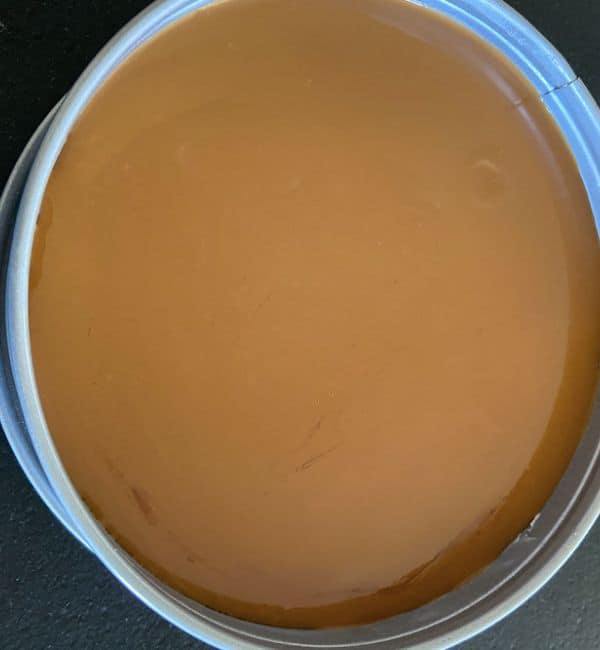
Step 9: Remove Cheesecake from Pan
After two hours, remove from the fridge and run a really thin knife around the outside edge between the cheesecake and pan. This will help to not create cracks in the cookie butter when you open the springform pan.
Optional: Crush up some additional biscoff cookies and use your hand to stick them to the sides of the cheesecake layer. It just makes it look a little prettier, but totally up to you.
That's it, enjoy this delish no bake Biscoff Cheesecake!
Recipe FAQs:
Biscoff comes in the form of cookies, with a similar texture to shortbread, and cookie butter. It was originated in Belgium and is well known in Europe.
To me, Biscoff has a flavor composition similar to gingerbread, but with less strength. They are made up of a brown sugar syrup and cinnamon. The cookies are thin, like shortbread, and have the most delicious little crunch. The cookie butter has the same flavor, but is in a spread form like peanut butter.
No bake cheesecake needs to sit in the fridge for a minimum of 6-8 hours. Overnight is best. This recipe also requires an extra 2 hours after the cookie butter is poured on. I recommend making it the day ahead for the best results.
This is so important for the filling. If you don't allow it to soften to room temperature, little lumps will be in the cheesecake and it will not taste as good. The softened cream cheese allows for the ingredients in the filling to blend completely into a whipped, fluffy filling.
Yes, I do believe this is the best option. If you use a cake pan, it's going to be almost impossible to get the slices out without an absolute mess.
I found the cookies at Cosco and the cookie butter at World Market. Look at Specialty Stores or your local grocery stores. Amazon also carries them, but you will have to buy in bulk.
Storage:
Store the leftovers in a sealed container in the fridge. Eat within 3 days. For more fun dessert ideas, try my oreo ice cream, key lime pie bars and blueberry galette with puff pastry.
PrintRecipe
Lotus Biscoff Cheesecake {No Bake}
- Total Time: 10 hours
- Yield: 10 slices 1x
Description
This Lotus Biscoff Cheesecake recipe is so easy to make and it's no bake! Simple ingredients come together for the smoothest cheesecake complete with a buttery Biscoff Crust and a cookie butter layer on top. It's so delicious and a must try recipe!
Ingredients
- 8.8 ounce sleeve of Biscoff cookies
- ¼ cup light brown sugar
- 6 tablespoons of salted butter, melted (you can use unsalted if you prefer)
- 3- 8 ounce blocks of cream cheese, softened to room temperature
- ¾ cup granulated sugar
- ¾ cup heavy cream
- 1 teaspoon vanilla extract
- 14.1 ounce Biscoff cookie butter (not the chunky version)
- Optional: Additional 8 cookies to crush up to put around the sides of cheesecake before serving.
Instructions
- Make the Biscoff Crust: Prepare a 9 inch Springform pan by lining the bottom with parchment paper. I like to spray a little cooking spray on the bottom so the parchment paper sticks really well.
- In a food processor, finely process one sleeve of Biscoff cookies. This should make about 2 cups. Add the brown sugar and melted butter into the food processor with the cookie crumbs and pulse until combined.
- Next, pour the crust mixture into the springform pan and pack it down with the outside of a measuring cup.
- Place the crust in the freezer for an hour.
- Prepare the Cheesecake Filling: Into a stand mixer with the beater attachment (or you can use a hand mixer) Add in the softened cream cheese. Mix on low speed for a minute.
- Add in granulated sugar and vanilla extract. Slowly pour in heavy cream and beat on low for about 5 minutes until the filling has a whipped appearance.
- Remove the pie crust from the freezer and spread the cream cheese filling on top.
- Cover with plastic wrap and refrigerate for 6 to 8 hours, but preferably overnight.
- Prepare the Cookie Butter Topping: Once the cheesecake has set, leave it in the fridge and melt down the cookie butter topping.
- Using a double boiler method: Empty the entire jar of cookie butter into the top pot. Add in a cup of water into the lower pot. Allow it to melt over medium heat stirring every minute to help it melt down.
- Using the microwave: Empty the entire jar of cookie butter into a microwave safe dish. Heat in 10 second increments until fully melted. Stir in between increments.
- Remove the cheesecake from the fridge and pour the melted cookie butter over the top. Do not touch it. Allow the mixture to spread out by itself. You can shake the pan a bit, but it should spread evenly on its own.
- Place back in the fridge for 2 hours.
- After two hours, remove from the fridge and run a really thin knife around the outside edge between the cheesecake and pan. This will help to not create cracks in the cookie butter when you open the springform pan.
- That's it, enjoy this delish no bake Biscoff Cheesecake!
Notes
Be sure to allow the full fridge time for the filling to set.
It is crucial to use a Springform pan or it will be very difficult to remove when serving.
Optional: Before serving, crush up some additional biscoff cookies and use your hand to stick them to the sides of the cheesecake layer.
- Prep Time: 30 minutes
- Setting Time in Fridge: 9-14 hours
- Cook Time: 0 minutes
- Category: dessert
- Method: no bake
- Cuisine: Belgium



Holly
This recipe is so good! I loved the lightness of the cheesecake and the biscoff was just the right amount.
Tara Smithson
I love no bake cheesecake for the lightness too! Thank you!