These Heart Jam Cookies are Thumbprint style cookies filled with Strawberry Jam. They make the cutest Valentine's Day cookies and take less than 30 minutes to make with no chilling time required!
Me and the kids came up with these cookies over the weekend and they are so yummy. Thumbprints are similar to shortbread cookies, but are a bit less dense. They have a sweet, buttery taste and the jam compliments the flavor perfectly.
These are super festive to make for Valentine's Day with a cute little heart shape. Try my Lemon Curd Thumbprints too!
Jump to:
Why You'll Love These Cookies:
- Sweet & Flavorful. These Thumbprint cookies are sweet, buttery and delicious with strawberry filling.
- Only 6 Ingredients. The recipe is super easy to make with minimal ingredients required.
- No Chilling Required. These cookies don't need to be chilled before baking
- Make them for your Valentine. It's the perfect Valentine's Day cookie with those cute little hearts to show someone you love them.
If you are looking for more fun and easy cookie recipes, check out my Peanut Butter Cookies without brown sugar, Mini Egg Cookies and White Chocolate Raspberry Cookies.
Jump to:
Ingredients:
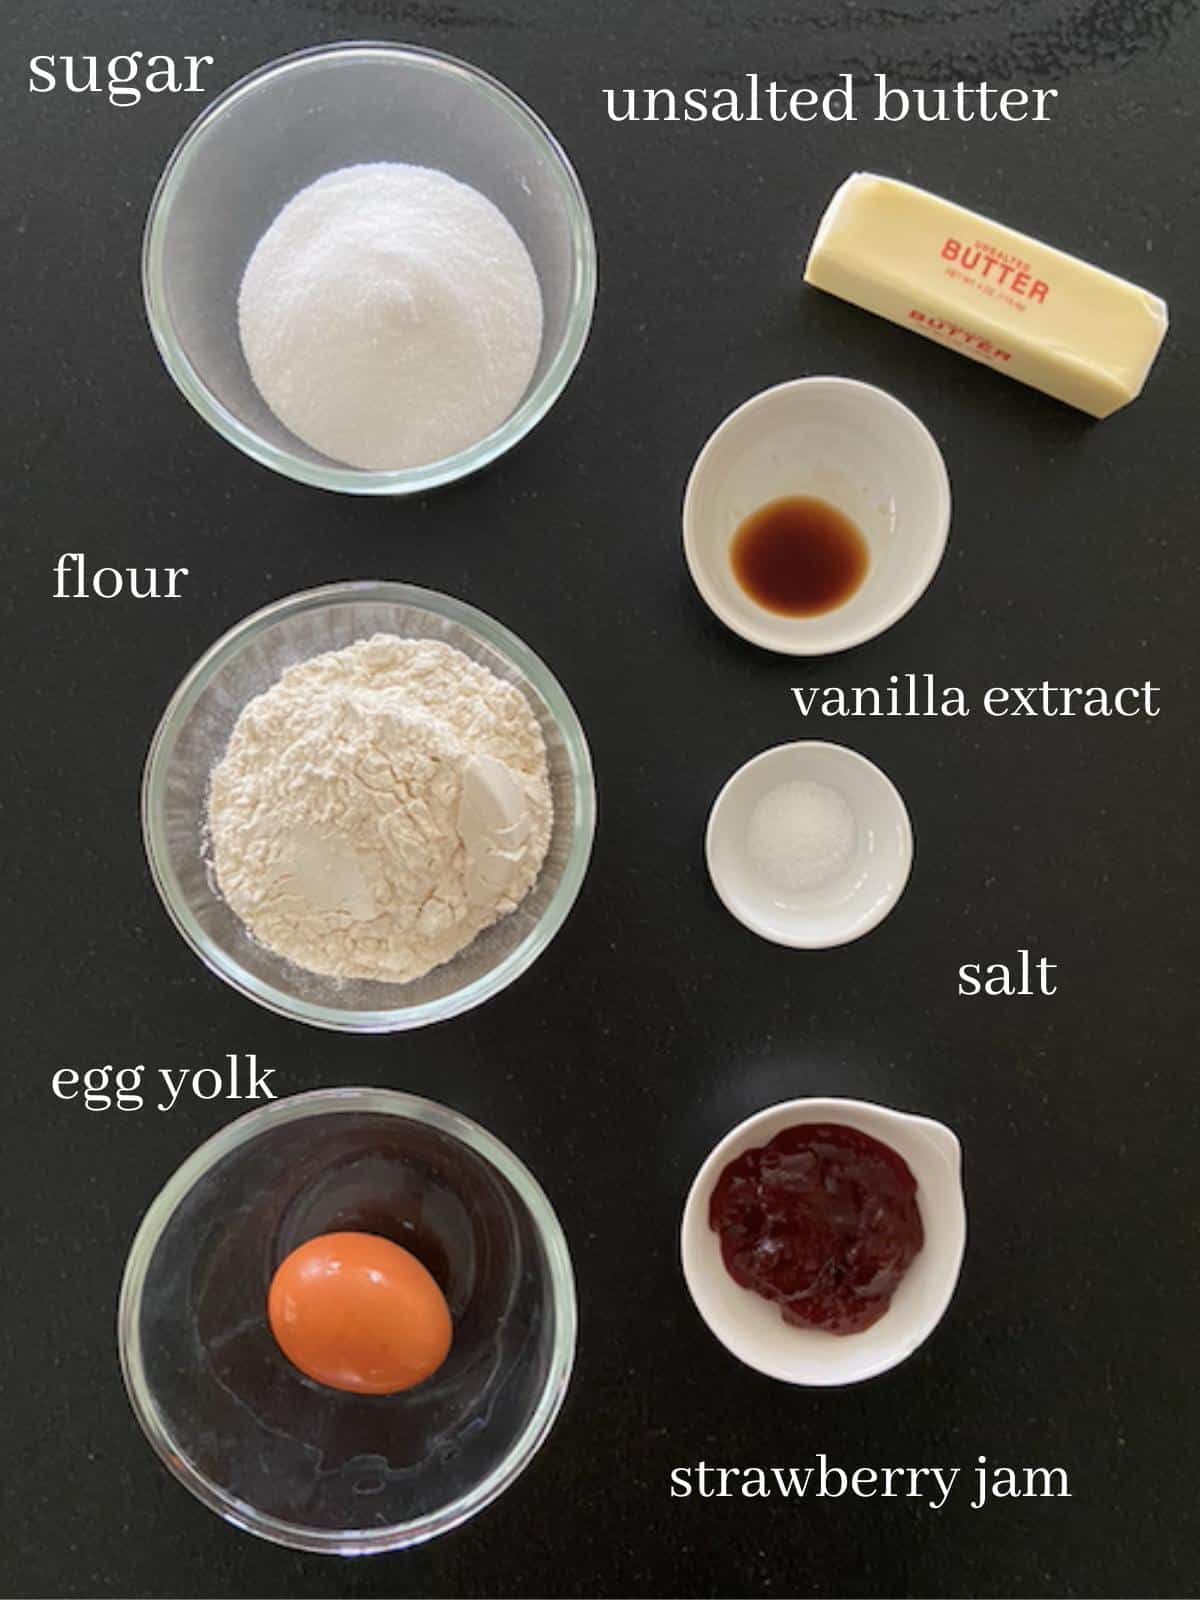
All purpose flour: A versatile flour great for baking. All purpose flour gives us a soft and chewy texture in these heart jam cookies.
Unsalted Butter: I tested the cookies first with salted butter and no salt and both versions are good. If you don't have unsalted butter, go with salted butter and no additional salt. You will be totally fine, as long as the butter is softened. Bakers prefer cooking with unsalted butter because it gives them control over how much salt they add.
Sugar: White granulated sugar is used in this recipe for sweetness and it creams together perfectly with the butter to create a light textured cookie.
Egg Yolk: Helps to create the perfect chewiness for these thumbprint cookies and creates a richer flavor. The egg yolk is what really separates thumbprint from shortbread cookies. Shortbread cookies usually don't use egg, which gives them a denser consistency than thumbprints.
Strawberry Jam: You want to use jam or preserves for this recipe. Jelly is much more runny and will likely leak out of the cookies for a total fail.
*Full recipe ingredients and quantities can be found in the recipe card below.
Variations & Substitutions:
If you don't have unsalted butter, you can use salted butter in this recipe without any additional salt. I've tested it and the cookies still turn out really great. I like the flavor of the dough a bit more with the unsalted butter, but it is a very subtle difference.
Not a big fan of Strawberry jam? Use cherry, raspberry or apricot jam. You can use any type of jam, but red or pink looks the best in these heart shaped cookies.
No stand mixer? Use a large bowl with a hand mixer instead.
Big on berry flavors? Try my Lemon Blueberry Cookies too!
How to Make Heart Jam Cookies:
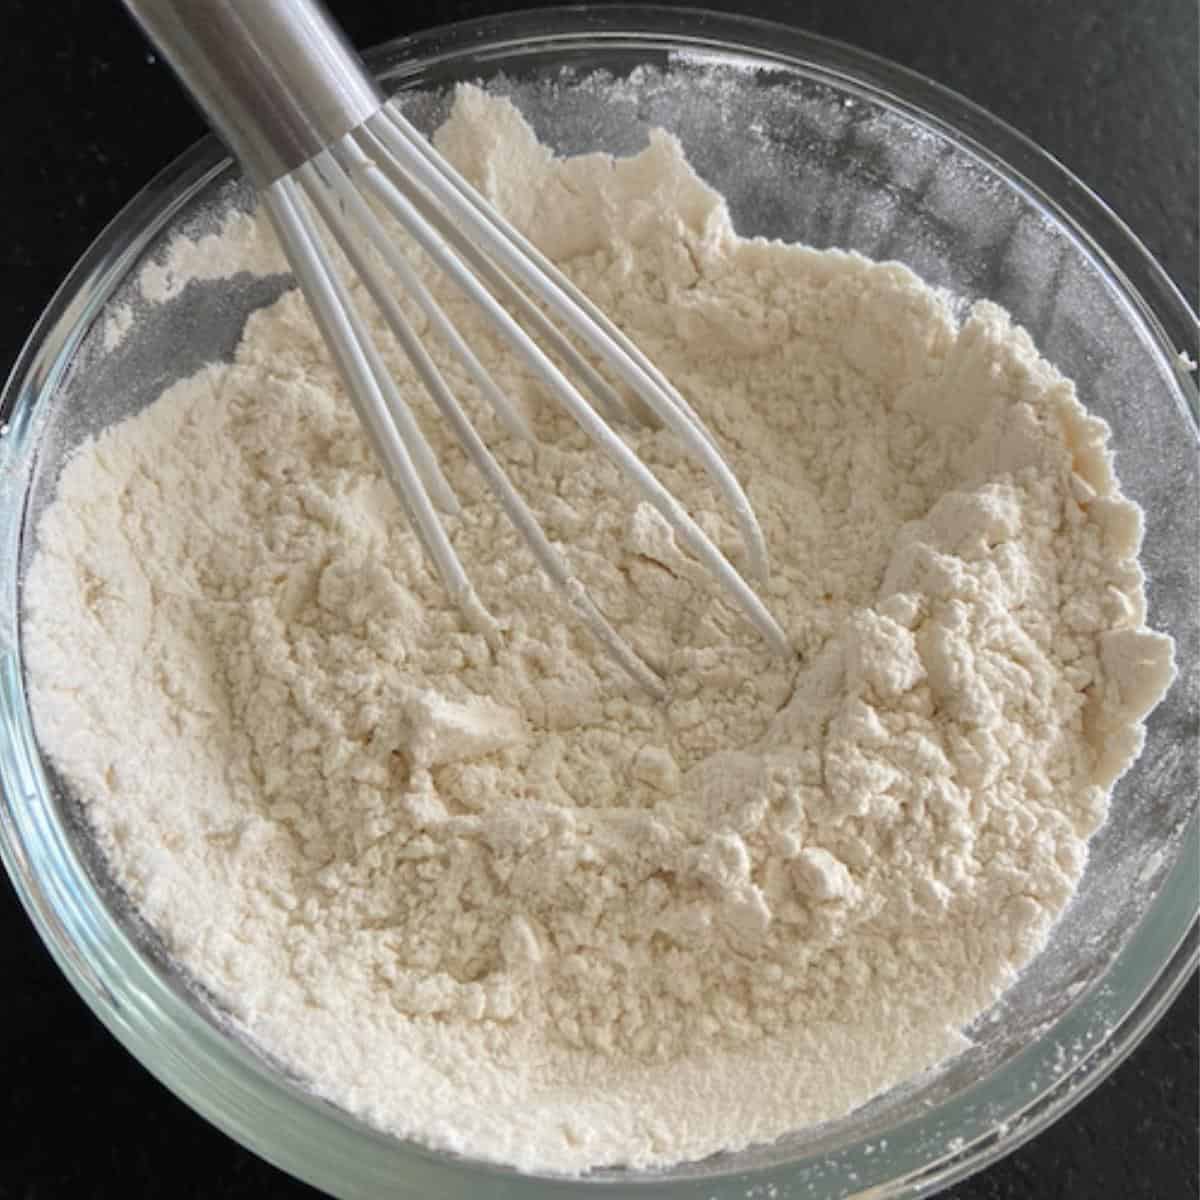
Step 1: Prepare the dry ingredients. Preheat the oven to 350 degrees. Line a cookie sheet with parchment paper or a silpat mat. In a small bowl, whisk together the flour and salt.
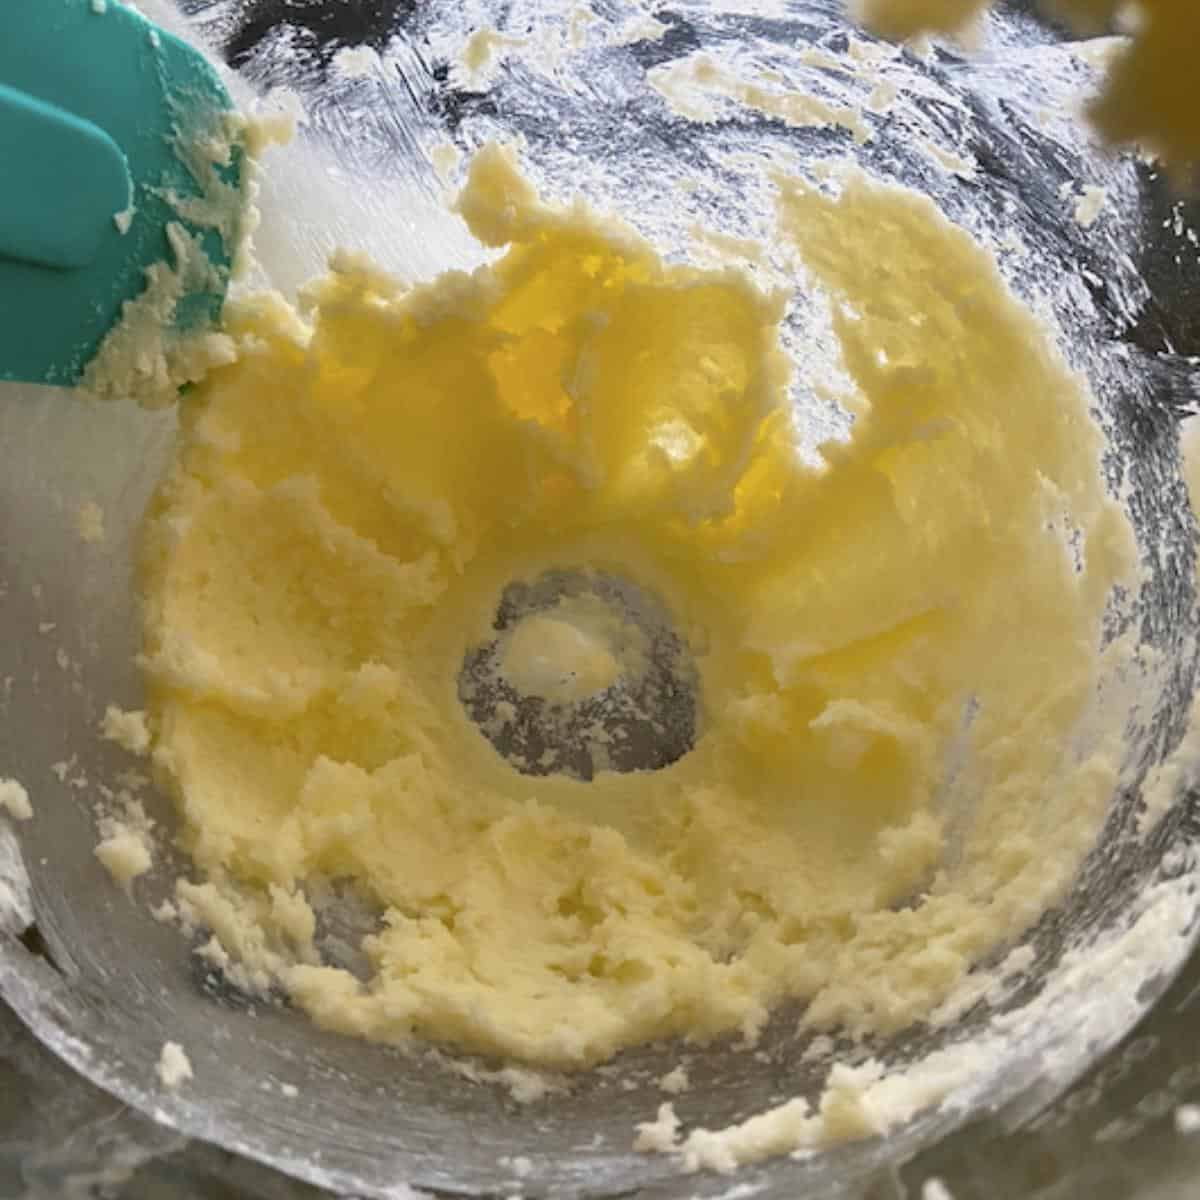
Step 2: Wet Ingredients. Into a stand mixer, add in the unsalted butter on low speed for about 1 minute. Add in the ½ cup of sugar. Turn the speed up to medium low for a few minutes until nice and fluffy, scraping down the sides of the bowl as needed. Pour in egg yolk and vanilla and mix an additional minute.
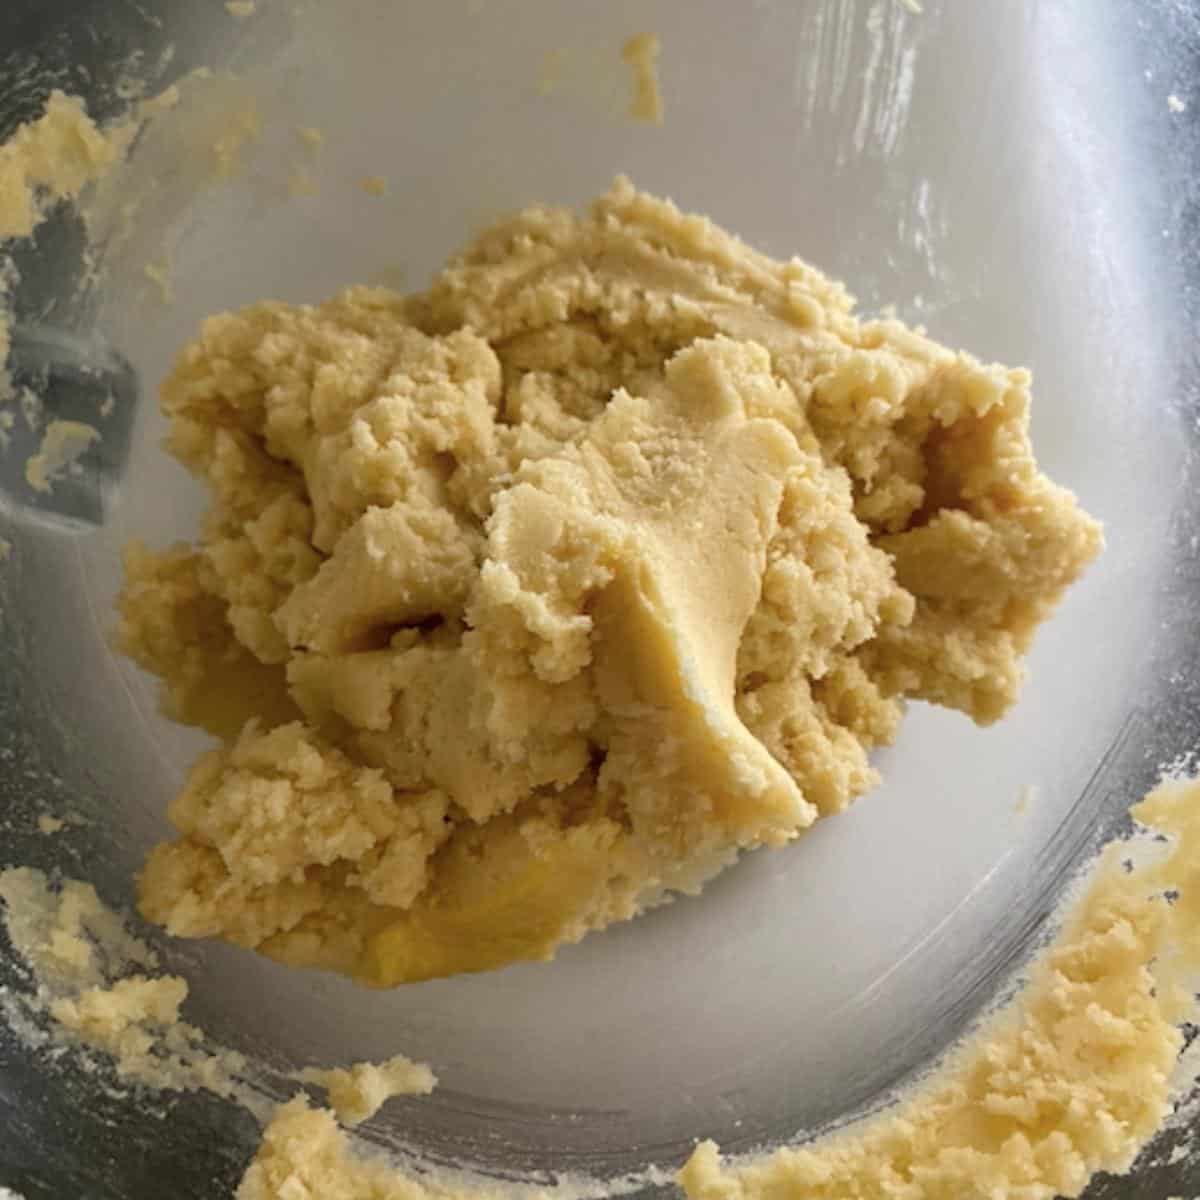
Step 3: Add Dry Ingredients. Reduce speed to low and slowly pour in the flour and salt mixture. Allow the cookie dough to mix on low speed until it forms a large dough ball.

Step 4: Roll dough into balls. Take about a tablespoon of cookie dough and roll it into a ball. You should get between 15 to 16 cookies. Spread apart on two cookie sheets. These will bake in two batches. If you feel like you've over handled the dough, stick them in the fridge for 30 minutes.
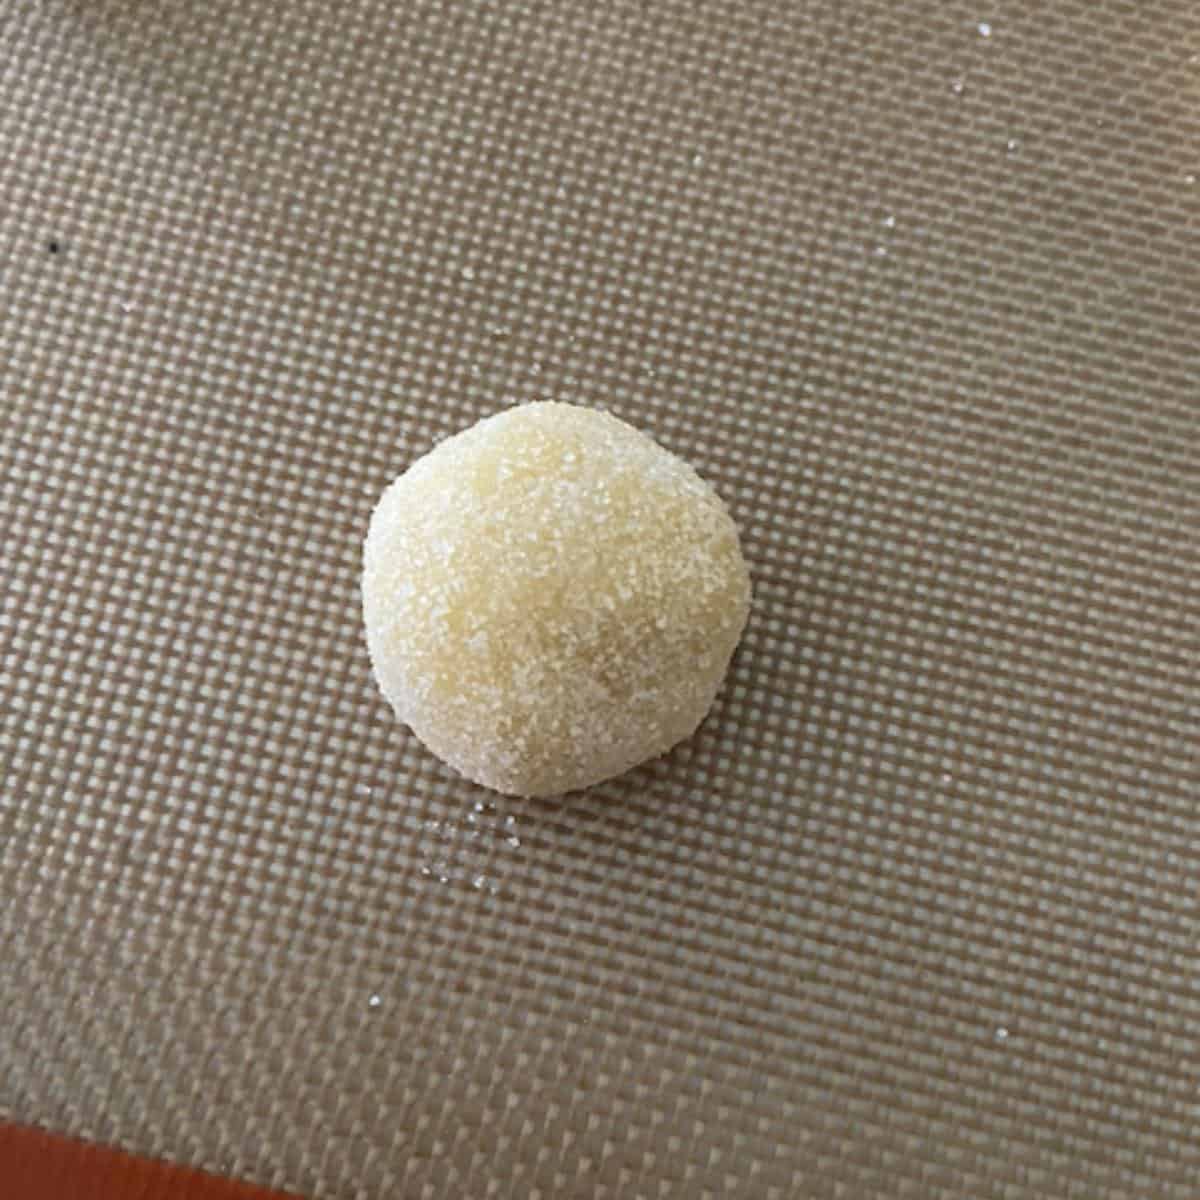
Step 5: Coat in Sugar. Roll each ball into the remaining ⅛ of sugar. Cover the entire ball. Lay back onto cookie sheet.
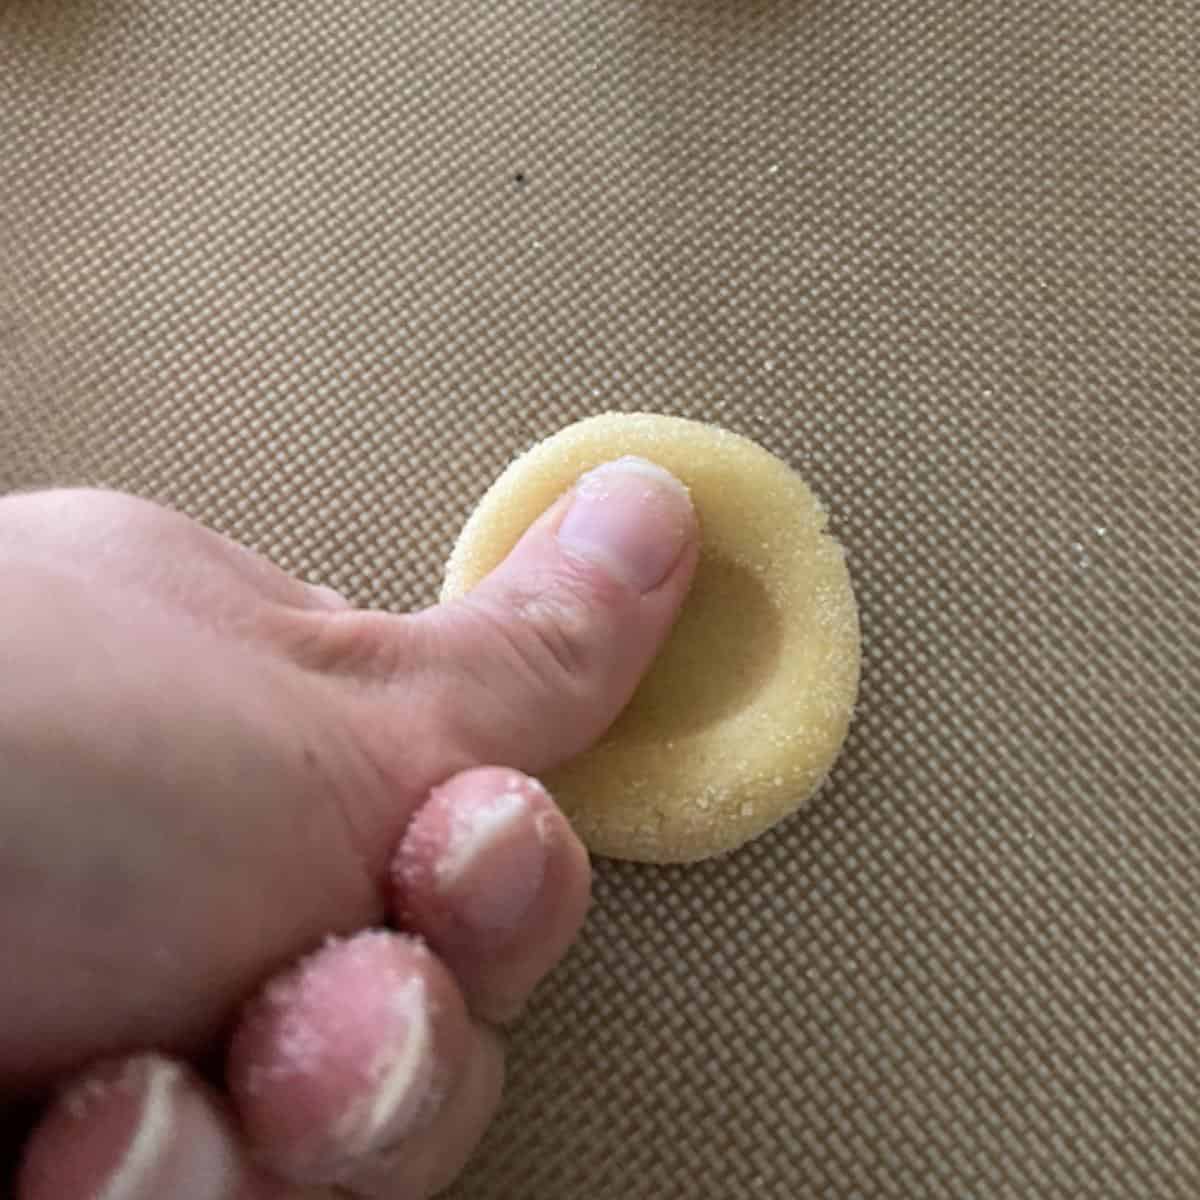
Step 6: Place thumbprints into the cookie. Using the palm of your hand, gently press down to flatten the cookie just a bit. Take your thumb and push down into the top of the cookie to create one half of the heart, then remove it and place it to the other side and push down to complete the heart shape.

Step 7: Fill thumbprints with jam & Bake.
Carefully fill each thumbprint with jam. Do not overfill. You want it just even or a little below full, so they don't spill out in the oven. Bake for 12 to 14 minutes.

Step 8: Cool on baking rack.
If they come out a little messy looking, don't worry. Allow them to cool for 10 minutes and the dough will drop a little bit. You can add a little bit of jam to fix them as well. I like to transfer the cookies to a baking rack to cool completely. Enjoy these tasty little treats!
Expert Tips:
- Do not press too hard on the cookies to flatten them. You are basically just trying to take the ball shape and make it a thick disc, but not like a pancake. Keep them thick. When you press the thumb into the cookie, it will flatten even more.
- Do not overfill with jam or preserves. This could cause them to leak over the heart shape and ruin the cookies. Just fill it full or a little less than full. You can always add more after baking.
- Once you are finished mixing the dough, immediately roll them into balls and bake. If you plan on waiting, stick the dough in the fridge until you are ready to use. *If you feel like the dough has gotten too soft or gooey from over handling, stick them in the fridge before baking for 30 minutes.
- After the cookies are finished baking, avoid stacking them as the jam will get all over the other cookies.
- Bake on parchment paper or a Silpat mat to keep the bottoms from browning. I recommend Silpat baking mats for cookies. The mats distribute heat evenly and are absolutely phenomenal when baking cookies. I know they are the most expensive up front option, but they last for years. I have them linked in the recipe card below if you are interested.
For more quick and easy dessert recipes, try these Peach Mango Pies, Blueberry Galette with Puff Pastry and Key Lime Pie Bars.
Recipe FAQs:
It's important to roll the cookies into balls as soon as the dough finishes. If you are planning on letting the dough sit out before rolling, pop the dough in the fridge until you are ready. The dough may have got too warm.
No! Jelly is made from fruit juices and is strained with no chunks of fruit. Jam, on the other hand, is made from the actual fruit and is mixed with sugar and a thickening agent, like pectin. I've always thought of jam as-with chunks. These jam cookies must have jam or preserves for the thicker consistency.
Sure thing! Just push your thumb into the center of the cookie and push down once. All the other instructions stay the same.
Storing:
Store the cookies in a tupperware container or individual sandwich bags. Avoid stacking the cookies, as the jam likes to spread onto the other cookies.
These thumbprint cookies can remain at room temperature and will stay fresh for up to 5 days. They are perfect to satisfy those sugar craving moments that come throughout the day.
More Recipes You'll Love:
If you tried this Heart Jam Cookie Recipe or any other recipe on my website, please leave a 🌟 star rating and let me know how it goes in the 📝 comments below. I love hearing from you!
PrintRecipe

Heart Jam Cookies
- Total Time: 20 minutes
- Yield: 16 cookies 1x
Description
These Heart Jam Cookies are Thumbprint style cookies filled with Strawberry Jam. They make the cutest Valentine's Day cookies and take less than 30 minutes to make with no chilling time required!
Ingredients
- 1 cup all purpose flour
- ½ teaspoon salt
- ½ cup of unsalted butter, softened to room temperature (1 stick)
- ½ cup white sugar + ⅛ cup sugar for rolling cookies into
- 1 large egg yolk
- ½ teaspoon vanilla extract
- ¼ cup strawberry jam or preserves
Instructions
- Preheat the oven to 350 degrees. Line a cookie sheet with parchment paper or a silpat mat. In a small bowl, whisk together the flour and salt.
- Into a stand mixer, add in the unsalted butter on low speed for about 1 minute. Add in the ½ cup of sugar. Turn the speed up to medium low for a few minutes until nice and fluffy, scraping down the sides of the bowl as needed. Pour in egg yolk and vanilla and mix an additional minute.
- Reduce speed to low and slowly pour in the flour and salt mixture. Allow the cookie dough to mix on low speed until it forms a large dough ball.
- Take about a tablespoon of cookie dough and roll it into a ball. You should get between 15 to 16 cookies. Spread apart on two cookie sheets. These will bake in two batches. If you feel like you've over handled the dough, stick them in the fridge for 30 minutes.
- Roll each ball into the remaining ⅛ of sugar. Cover the entire ball. Lay back onto cookie sheet.
- Using the palm of your hand, gently press down to flatten the cookie just a bit. Take your thumb and push down into the top of the cookie to create one half of the heart, then remove it and place it to the other side and push down to complete the heart shape.
- Carefully fill each thumbprint with jam. Do not overfill. You want it just even or a little below full, so they don't spill out in the oven. Bake for 12 to 14 minutes.
- If they come out a little messy looking, don't worry. Allow them to cool for 10 minutes and the dough will drop a little bit. You can add a little bit of jam to fix them as well. I like to transfer the cookies to a baking rack to cool completely. Enjoy these tasty little treats!
Notes
- Press gently on the cookies to flatten them. You just want to take them from a ball to a thick disc.
- Do not overfill with jam or preserves. This could cause them to leak over the heart shape and ruin the cookies. Just fill it full or a little less than full. You can always add more after baking.
- Once you are finished mixing the dough, immediately roll them into balls and bake. If you plan on waiting, stick the dough in the fridge until you are ready to use. *If they looks over handled or gooey, place them in the fridge for 30 minutes prior to baking.
- After the cookies are finished baking, avoid stacking them as the jam will get all over the other cookies.
- Bake on parchment paper or a Silpat mat to keep the bottoms from browning. I recommend Silpat baking mats for cookies.
- Prep Time: 8 minutes
- Cook Time: 12 minutes
- Category: dessert
- Method: bake
- Cuisine: american










Holly
So buttery and tasty! Plus, adorable too.
Tara Smithson
Thank you! I love these too:)